 Add Row
  Add
Add 

Understanding the Importance of a Shower Curb
Have you ever stepped into your bathroom only to find water pooling around your feet? A shower curb is not just an aesthetic feature; it's a practical necessity. By creating a barrier between your shower area and the bathroom floor, you enhance the efficiency of your space while saving yourself from water damage. This guide will take you step by step through the process of building a shower curb, ensuring that your bathroom remains dry and stylish.
Materials Make a Difference: Choosing the Right Supplies
Before diving into construction, understanding your materials is crucial. If your bathroom has wooden flooring, wood bricks are necessary for building your shower curb. Conversely, laminate flooring requires laminate bricks. Using the proper materials not only facilitates construction but guarantees durability as water exposure affects different surfaces differently.
A waterproof pan liner is essential to protect against leaks. Make sure it covers the entire floor if your shower pan doesn't have a proper slope. Gather your tools: non-corrosive screws, waterproof glue, cement mortar, lath, and a flat trowel to bring your project to life. Without these, your curb won’t just falter; it risks potential water damage down the line.
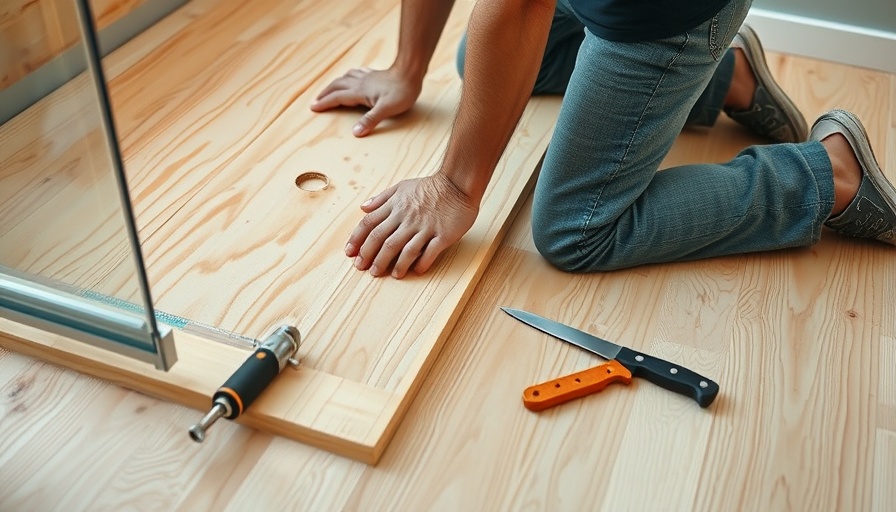
Step-by-Step Installation of Your DIY Shower Curb
Installing a shower curb is manageable even for beginners. Start by preparing the area. If you’re working with wood or laminate, ensure the bricks are cut to equal lengths. If the floor is concrete, avoid using lumber that might swell with exposure to moisture. When it comes to height, remember that the curb must be low enough for the shower door to open without obstruction.
Next, lay down the waterproof pan liner. This acts as a shield against leaks. Measure carefully to prevent shortages. Spread the liner smoothly over the surface, making sure it adheres to the perimeter. If your floor was sloped as needed, you might skip this step, but always err on the side of caution.
Common Challenges and Solutions in Shower Curb Construction
Like any DIY project, building a shower curb can come with its challenges. One common issue is ensuring the structure remains waterproof. Remember to thoroughly check the seal and placement of your waterproof pan liner after laying it down. It’s also important to give your cement mortar the proper time to set, typically requiring at least 24 hours before using the shower.
Besides waterproofing, it’s vital to consider the curb's overall height and slope. An incorrect slope can lead to water pooling rather than draining appropriately, thereby negating the curb's purpose. Maintaining an eye on these details can ensure your shower curb functions flawlessly.
Final Touches: Making it Blend in with Your Bathroom Décor
Once you have the structural elements of your shower curb complete, think about your bathroom’s overall theme. A well-constructed shower curb should complement your existing décor rather than stick out like a sore thumb. Adding a decorative tile on top or painting it in a color that matches your scheme can bring your entire bathroom renovation together.
Take the Next Step in Home Improvement!
If you’re ready to improve your bathroom, a shower curb is just the beginning. Whether you’re also considering kitchen remodeling in Cape Coral or need landscaping services, investing in your home is a step toward enhancing its value and your enjoyment of the space. Don't hesitate to reach out to local experts in bathroom or kitchen remodeling to guide you through other home improvement projects.


Write A Comment